Adding a professional headshot station to your corporate conference is one of the highest-value amenities you can offer attendees. It costs less than a keynote speaker, requires almost no logistical lift on your end, and produces something every single attendee will actually use — a polished, professional headshot they can put on LinkedIn, your company website, and their speaker bio.
But like any event element, the difference between a headshot station that runs flawlessly and one that creates chaos comes down to planning. This guide covers everything you need to know, from the moment you decide to add a headshot station to the moment your last attendee walks away with their photo.
Step 1: Decide Early — Book 6 to 8 Weeks Out
The single most common mistake event planners make with headshot stations is treating them as an afterthought. They finalize the keynote, the catering, the AV setup, and then three weeks before the event remember they wanted to add headshots.
By that point in Dallas conference season — particularly spring (March through May) and fall (September through November) — the best photographers are already booked.
The rule: If your event is during peak conference season, start your search eight weeks out and aim to have a photographer confirmed by week six. For off-peak months, four weeks is usually sufficient.
When you reach out, have these details ready:
- Event date and approximate start/end times
- Venue name and location
- Estimated number of attendees who will want headshots
- Whether you want instant on-site delivery or standard turnaround
That information lets a photographer confirm availability and give you an accurate quote in the first conversation.
Step 2: Nail Down Your Space Before the Event
You don’t need a large dedicated room for a headshot station. You need the right space. Here’s exactly what to look for when walking your venue in advance:
Minimum footprint: 10 feet by 10 feet. A standard conference room, pre-function corridor, or quiet alcove works perfectly. The photographer brings everything — lights, backdrop, and equipment.
Power access: One standard outlet within 20 feet of the shooting area. That’s it.
Ambient noise: The space doesn’t need to be silent, but it should be away from the main stage, band, or DJ. Subjects need to hear brief coaching cues without straining.
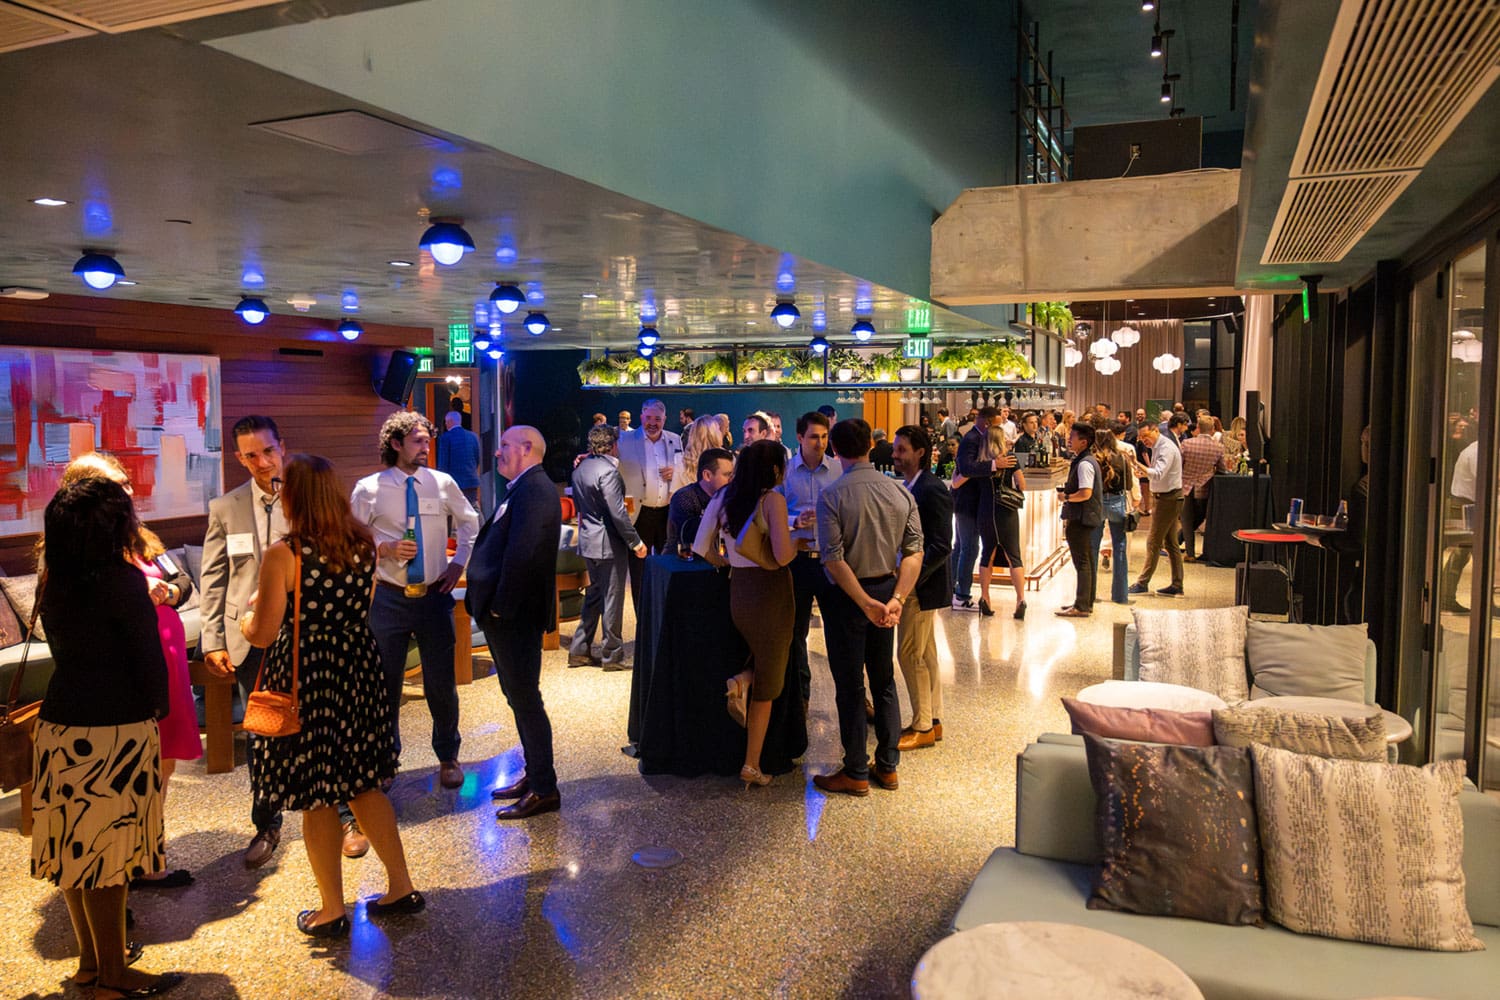
Foot traffic: Ideally the station is visible and easy to find — near registration, the main networking area, or on the path between sessions. Out-of-sight stations get fewer visitors.
Lighting: Don’t worry about venue lighting. A professional photographer brings strobes that completely override ambient light. Natural window light is a bonus but not a requirement.
Share your venue floor plan with your photographer two to three weeks before the event so they can identify the ideal setup location and flag any potential issues before arrival day.
Step 3: Build It Into the Agenda
A headshot station only gets used if attendees know it exists and have time to visit it. Both of those things require intentional planning.
In the event agenda: Block “Headshot Station Open” as a visible line item during every break, lunch period, and networking session. If it’s not on the agenda, it might as well not exist.
From the stage: Have your MC or a presenter mention the headshot station by name during opening remarks and again after lunch. A single sentence is enough: “Don’t forget — there’s a professional headshot station set up in the foyer all day. No appointment needed. Stop by during any break and walk away with a LinkedIn-ready photo.”
In event signage: Include directional signage to the headshot station, especially if it’s not immediately visible from the main session room.
In your event app or program: List it as a featured amenity with the location and hours.
The more touchpoints you create, the more attendees visit. More visitors means better ROI on the investment and more LinkedIn posts tagging your event.
Step 4: Send a Dress Code Communication
This step alone has the biggest impact on the quality of your attendees’ headshots — and it costs you nothing but a paragraph in your pre-event email.
Most people don’t think about what they’re wearing to a conference in terms of how it photographs. Left to their own devices, a percentage of your attendees will show up in neon colors, busy patterns, or their company-branded polo shirt. All of these photograph poorly.
Send this guidance two weeks before your event in your regular attendee communications:
We’re offering complimentary professional headshots at [Event Name]. Sessions take about 90 seconds — no appointment needed, just stop by the headshot station during any break.
To look your best on camera:
- Wear solid, neutral colors — navy, charcoal, black, white, or grey
- Blazers, jackets, and cardigans photograph especially well
- Avoid busy patterns, stripes, neon colors, or visible logos
- Business professional or polished business casual works perfectly
That’s the entire communication. Simple, direct, and it meaningfully improves the results across your whole attendee pool.
Step 5: Understand the Attendee Flow Before Day-Of
A well-run headshot station moves eight to twelve people per hour. A poorly run one creates a line that backs up into your networking area within 30 minutes.
The difference is almost entirely about the photographer’s system — not your planning. But knowing what a good flow looks like helps you evaluate photographers before you book and helps you brief your event staff on day-of.
Here’s what a properly run headshot station looks like from the attendee’s perspective:
Walk up. No sign-in sheet, no intake form, no waiting for a previous session to wrap up.
Brief introduction (30 seconds). The photographer explains what to expect, checks the attendee’s outfit quickly, and positions them.
Session (60 seconds). Three to five frames. The photographer coaches posture, expression, and chin position in real time. Subjects don’t need to do anything except show up.
Confirmation (15 seconds). The photographer reviews the frames on-camera and confirms a keeper before the attendee steps away.
Delivery. The attendee receives their edited headshot via a branded digital portal — within minutes if instant delivery is offered, or within the photographer’s standard turnaround window.
Total time per person from walk-up to departure: under two minutes. At that pace, a six-hour day covers 50 to 70 attendees with time for natural breaks.
Step 6: Instant Delivery — Why It’s Worth Prioritizing
Traditional headshot delivery works like this: the photographer goes home, culls through hundreds of images over the following week, edits the selects, and sends a download link. By the time it arrives, your conference ended ten days ago and nobody is thinking about it anymore.
Instant on-site delivery changes the entire dynamic.
With a tethered workflow and a delivery platform set up in advance, every attendee can receive their edited headshot on their phone or email within minutes of their session — before they leave the building. That means:
- They update their LinkedIn profile at lunch during your event
- They post about the experience and tag your company or event
- Your conference is associated with something valuable and tangible
- The headshots actually get used instead of sitting in a downloads folder
When you’re evaluating photographers, ask specifically whether they offer on-site delivery and what platform they use. Ask whether the delivery portal can be branded with your company or event name rather than a generic third-party link. Branded delivery reinforces your organization’s professionalism and makes the experience feel like a premium perk rather than a vendor service.
Step 7: Your Day-Of Checklist
With a good photographer booked and the planning steps above complete, day-of execution is straightforward. Here’s a quick reference:
Before doors open:
- Confirm photographer has arrived and setup is complete (they should be ready 30 minutes before your first session)
- Verify the delivery portal is live and branded correctly
- Brief your event staff on directing attendees to the station
During the event:
- Have your MC mention the headshot station during morning remarks and again after lunch
- Check in with the photographer at midday to confirm everything is running smoothly
- Remind attendees in afternoon sessions if they haven’t visited yet
After the event:
- Include the headshot gallery link or delivery information in your post-event follow-up email
- Collect a quote from two or three attendees about the experience for future event marketing
- Save your photographer’s contact information for next year
Ready to Add a Headshot Station to Your Next Dallas Conference?
At Erick Johnson Photography, we’ve built our entire workflow around making the headshot station the easiest part of your event to plan — and the most memorable part for your attendees.
The Conference Day Package is a flat $2,500 for up to six hours on-site, unlimited attendees, and instant same-day delivery via a branded portal. No per-person fees. No late delivery. Full studio setup brought directly to your venue anywhere in DFW.
We also offer a free Corporate Headshot Day Planning Checklist — a downloadable PDF that covers every step in this guide plus a copy-paste attendee email template and a complete day-of checklist you can hand to your event staff.
Check My Date for Your Event →
Erick Johnson Photography serves Dallas, Fort Worth, Plano, Frisco, Irving, Arlington, Las Colinas, and all of DFW. Corporate headshot events, conferences, and company team headshot days.

Be The First To Comment